WordPress Security, SSL for WordPress, HTTPS, Website Security, Beginner WordPress Tips, Fix Not Secure Error, Fix a Not Secure WordPress Website
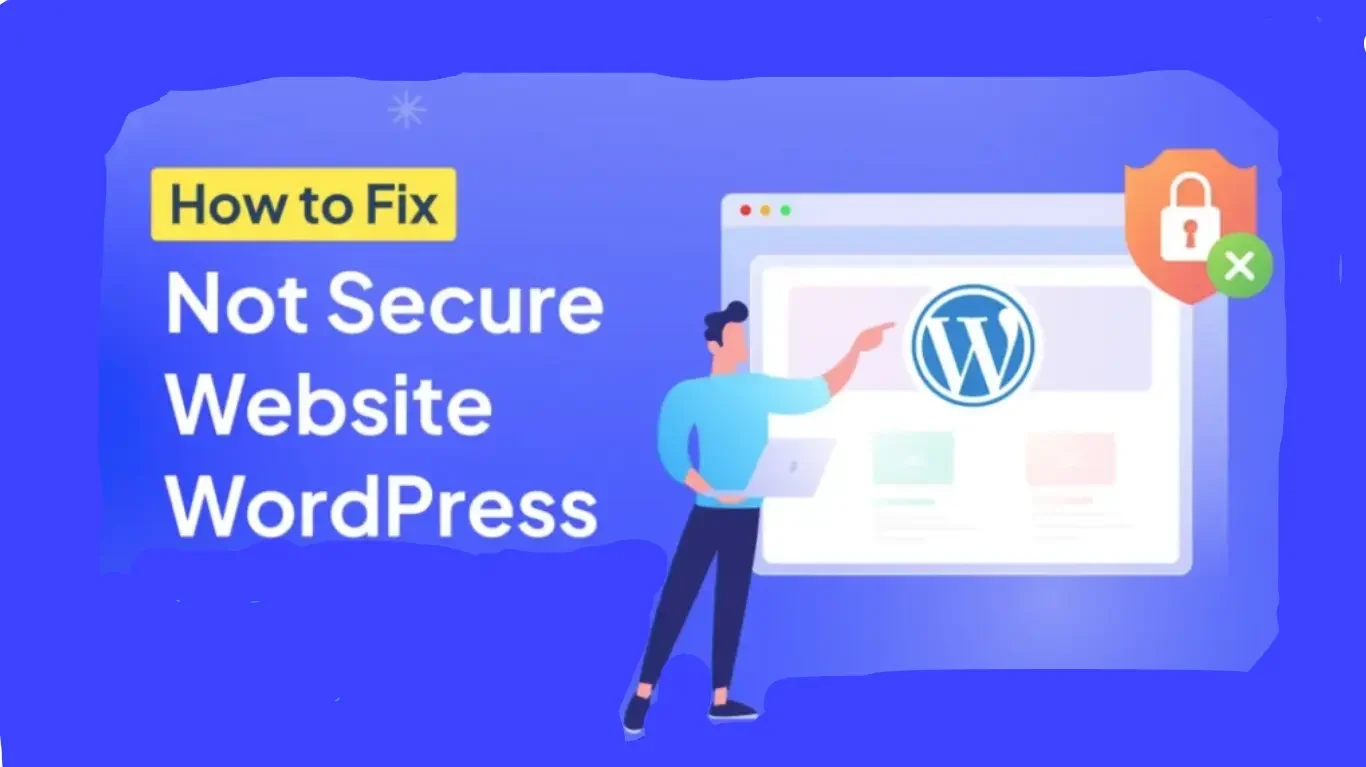
Your website’s security is more important than ever in 2025. If you’re seeing a “Not Secure” warning in your browser’s address bar when visiting your WordPress website, it can be alarming for you and your visitors. In this detailed beginner’s guide, we’ll show you exactly how to fix a Not Secure WordPress Website step by step.
Why Is Your WordPress Site Showing “Not Secure”?
Before we dive into how to fix a Not Secure WordPress Website, let’s understand the root of the problem.
When your WordPress site doesn’t have a valid SSL (Secure Sockets Layer) certificate installed, browsers like Chrome, Firefox, or Safari will label it as “Not Secure.” SSL ensures that data transferred between the user and the website is encrypted and safe.
A lack of SSL:
- Hurts SEO rankings
- Decreases trust among visitors
- Can affect sales and conversions
- Makes your site vulnerable to attacks
Step 1: Check Your Site’s Current Status
To begin, verify whether your SSL certificate is active.
- Visit your site in a browser.
- Look for the padlock icon next to your domain.
- If it says “Not Secure,” it’s time to fix a Not Secure WordPress Website urgently.
You can also use free tools like Why No Padlock or SSL Checker to diagnose SSL issues.
Step 2: Get an SSL Certificate
To fix a Not Secure WordPress Website, you need an SSL certificate. There are two main ways to get one:
Option 1: Use a Free SSL from Your Hosting Provider
Many WordPress hosts like SiteGround, Bluehost, Hostinger, and Namecheap offer free SSL certificates via Let’s Encrypt.
Steps:
- Log in to your hosting dashboard.
- Go to “Security” or “SSL.”
- Activate the free SSL for your domain.
- Wait a few minutes for propagation.
Option 2: Purchase a Premium SSL
For e-commerce, business, or enterprise-grade sites, a paid SSL offers better features like warranties, dynamic site seals, and extended validation.
Once you have an SSL certificate, you’re halfway through learning how to fix a Not Secure WordPress Website.
Step 3: Force HTTPS in WordPress Settings
After SSL is installed, update your WordPress settings to ensure your site uses HTTPS.
- Log in to your WordPress dashboard.
- Go to Settings > General.
- Update the WordPress Address (URL) and Site Address (URL) from http:// to https://.
- Save changes.
This is a vital move in your journey to fix a Not Secure WordPress Website.
Step 4: Update Links and Resources
Even after installing SSL and forcing HTTPS, you might still see the “Not Secure” warning due to mixed content errors (when HTTP content is loaded on an HTTPS site).
To clean up these errors and fix a Not Secure WordPress Website, follow these steps:
Use a Plugin Like Really Simple SSL
This plugin automatically:
- Redirects all traffic to HTTPS
- Fixes mixed content
- Updates old URLs
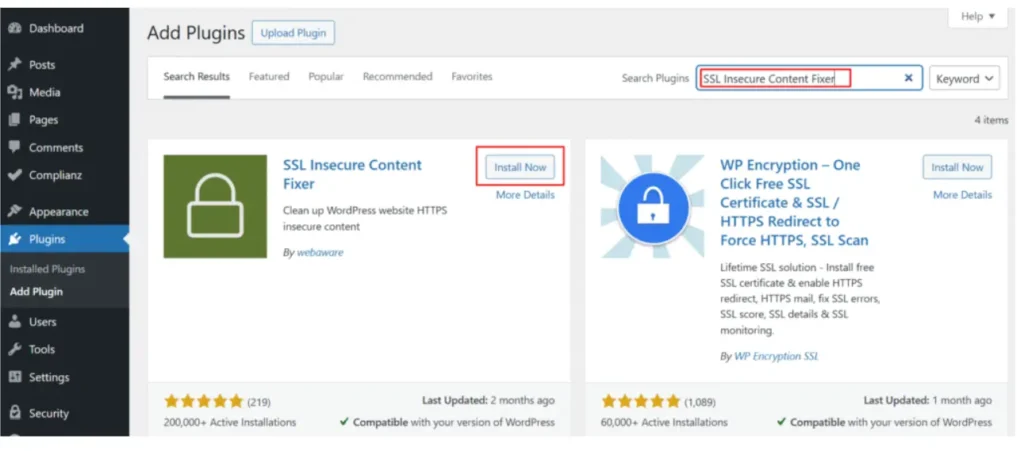
Steps:
- Install and activate the Simple SSL plugin.
- Follow the on-screen instructions to enable SSL.
Alternatively, use Better Search Replace to manually change all internal links from http:// to https://.
Step 5: Redirect All HTTP Traffic to HTTPS
To completely fix a non-secure WordPress Website, set up redirects so visitors always land on the secure version.
Add the following code to your .htaccess file (for Apache servers):
For NGINX servers, you’ll need a different snippet in your config file. If you’re unsure, your host’s support can help.
This permanent redirect helps fully fix a Not Secure WordPress Website and ensures your SEO doesn’t take a hit.
Step 6: Update Google Search Console and Analytics
Now that you’ve worked hard to fix a Not Secure WordPress Website, you should update your Google Search Console (GSC) and Google Analytics settings.
In GSC:
- Add a new property with the HTTPS version of your domain.
- Submit your sitemap again.
In Google Analytics:
- Go to Admin > Property Settings
- Change the default URL to https://
This will ensure accurate tracking and reporting for your now-secure website.
Step 7: Recheck for Mixed Content Issues
After completing all these steps to fix a Not Secure WordPress Website, it’s important to test your site thoroughly.
Use:
- Why No Padlock
- SSL Labs Test
If these tools show no warnings, you’ve successfully managed to fix a Not Secure WordPress Website!
Step 8: Set Up Security Best Practices
Once you’ve secured your site, keep it that way:
- Keep WordPress core, themes, and plugins updated
- Use a security plugin like Wordfence or Sucuri
- Install a firewall
- Limit login attempts
- Use strong passwords
Securing your site is not a one-time task. Continuing with good practices will prevent you from having to fix a Not Secure WordPress Website again in the future.
Step 9: Inform Your Visitors (Optional)
If your site was previously labeled “Not Secure,” loyal visitors might still be cautious. Consider posting a short blog update or banner saying:
“Our site is now fully secured with HTTPS encryption. Your data and privacy are safe!”
This rebuilds trust and shows that you took action to fix a Not Secure WordPress Website.
Common Mistakes to Avoid
Even experienced users can make mistakes when trying to fix a Not Secure WordPress Website. Here are a few:
- Forgetting to update hardcoded http:// links in theme files
- Not updating the sitemap
- Redirect loop errors due to improper SSL redirects
- Not clearing browser cache or site cache
Avoid these pitfalls to make your effort count!
Final Checklist to Fix a Not Secure WordPress Website
✅ Install SSL certificate
✅ Update WordPress to HTTPS
✅ Force HTTPS in settings and via .htaccess
✅ Use the Simple SSL plugin
✅ Check for mixed content
✅ Update Google Analytics & GSC
✅ Perform a full SSL test
✅ Keep your site secure going forward
Repeat this checklist whenever you face issues or launch a new WordPress site to instantly fix a Not Secure WordPress Website.
Conclusion: You’ve Successfully Fixed a Not Secure WordPress Website
If you’ve followed this step-by-step guide, you now know how to fix a Not Secure WordPress Website from start to finish—even as a beginner.
Securing your WordPress site not only boosts SEO but also protects your brand’s reputation, builds trust, and keeps user data safe.
So, take a moment and double-check all the steps. Once done, enjoy the green padlock on your site, knowing you’ve learned to fix a Not Secure WordPress Website the right way.
READ More How to start a blog for beginners in 2025 ( step-by-step guide)